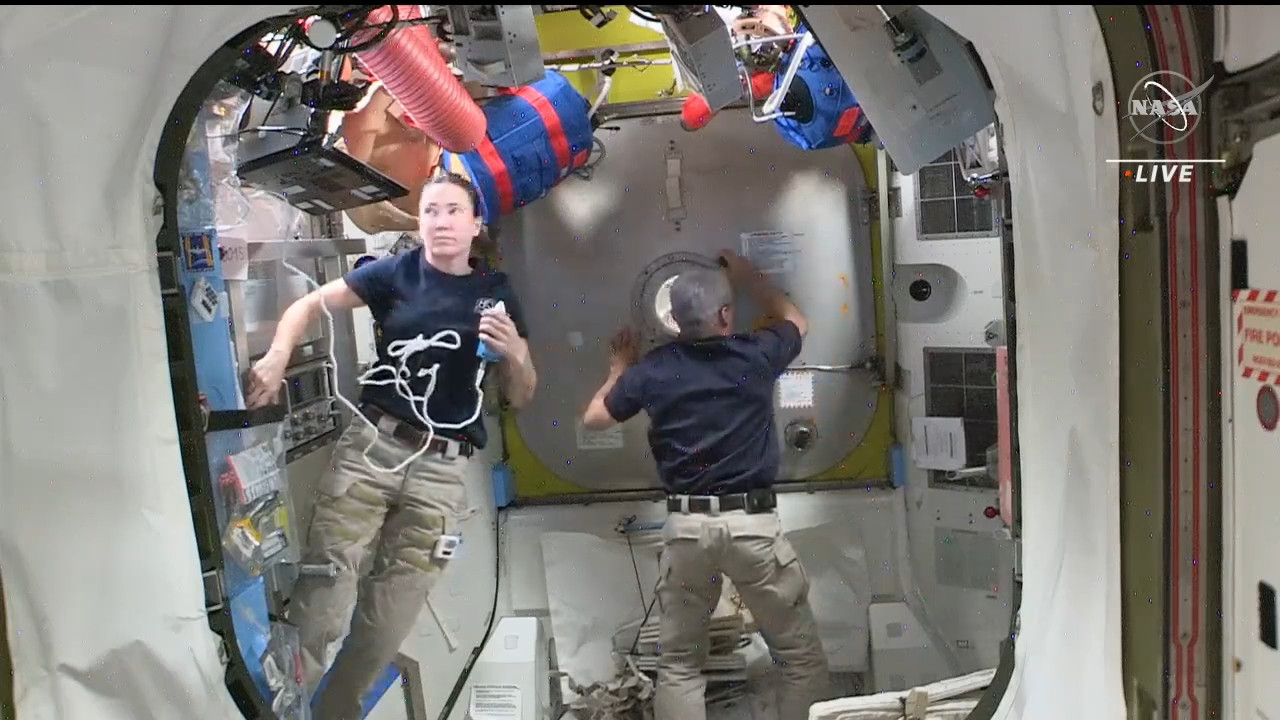
In questo Topic vorrei raccogliere una copertura il più possibile completa della EVA 76, anche se personbalmente non potrò seguirla nella sua interezza. Sono benvenuti tweet, screenshot ben fatti e spiegazioni a tema.
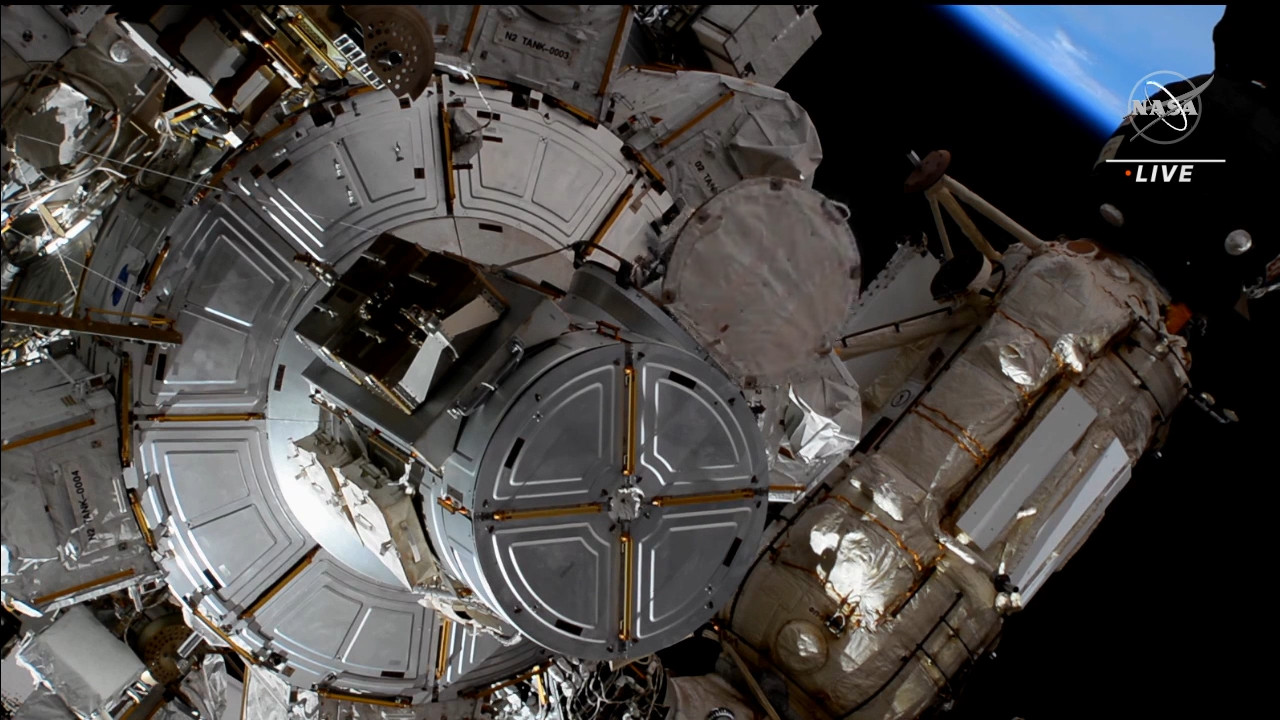
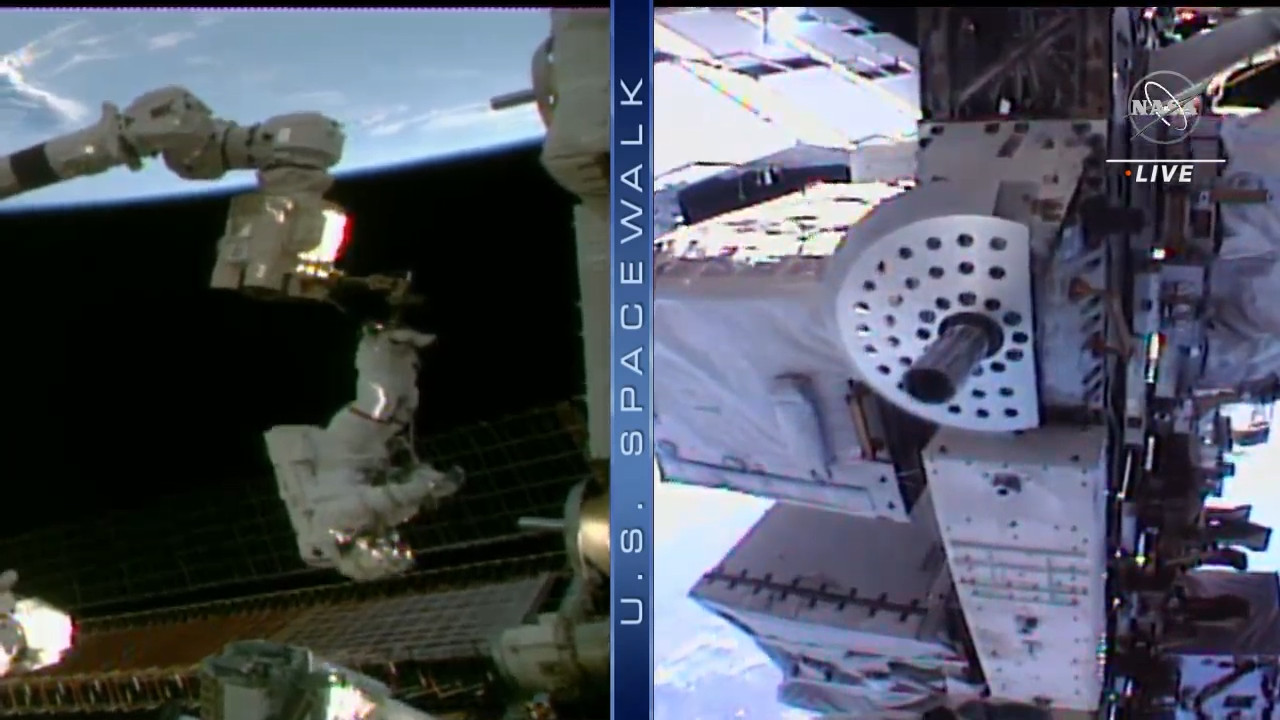
Ricordo che lo scopo di EVA 76 è la continuazione dell’installazionie dei pannelli fotovoltaici iROSA, in particolare il secondo pannello sul supporto 4B.
La durata dei lavori all’esterno e’ prevista in circa 6 ore e mezza.
Ecco il link alla diretta streaming di NASA Tv.

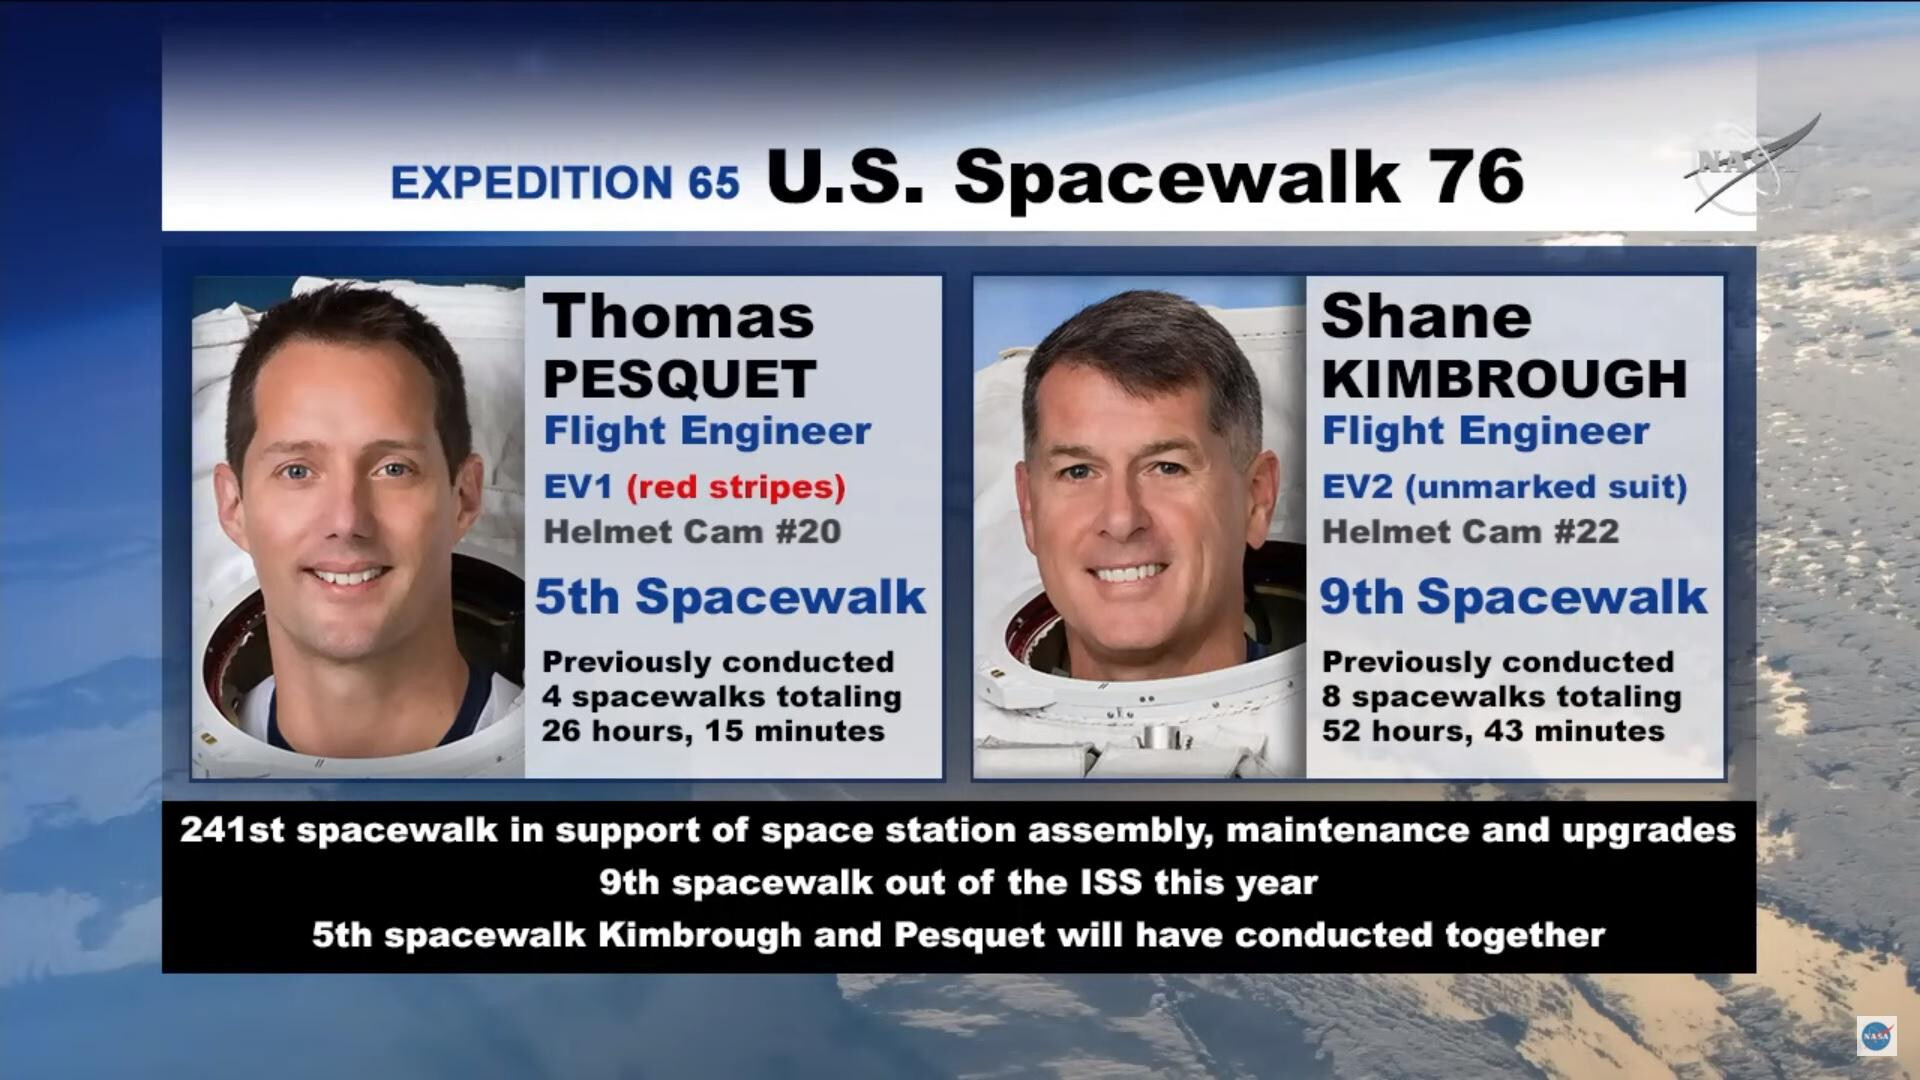
Il team completo di EVA 76.

I passi di EVA 76
2.1 Pre EVA 4B Configuration
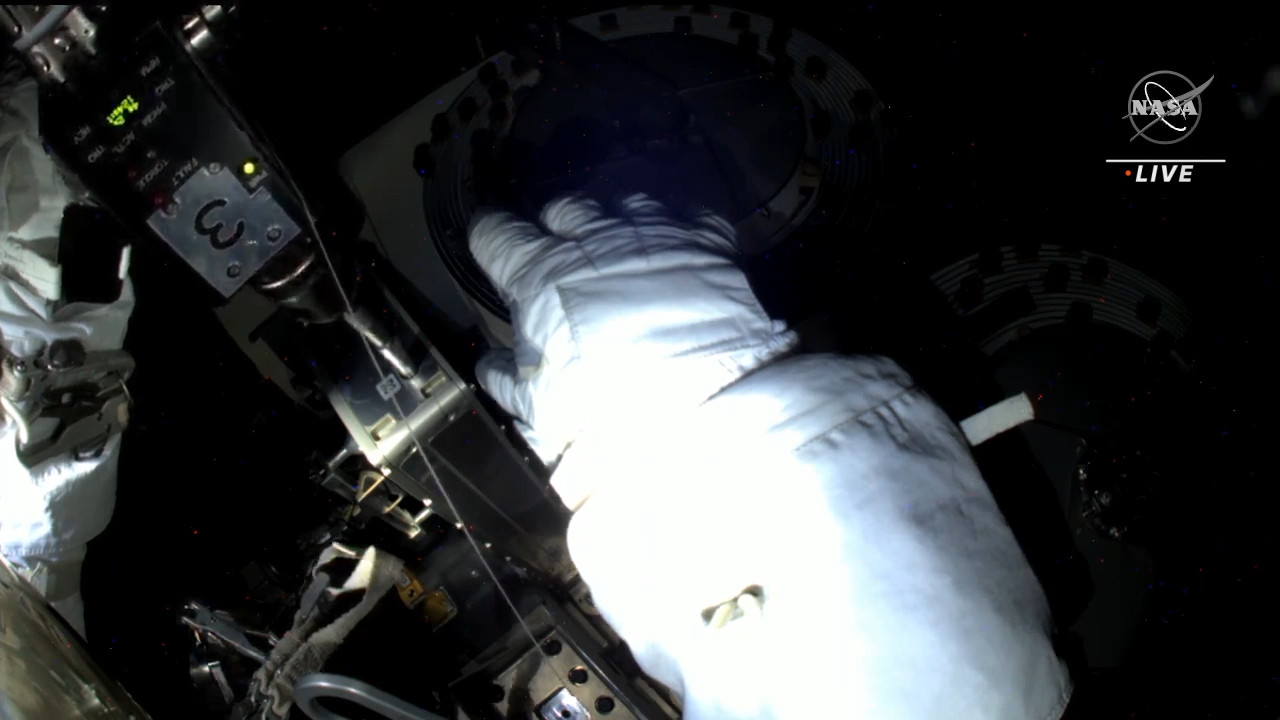
2.3 EGRESS
2.4 ---->EV1 Egress Airlock with CL Bag 1 and PGT2
2.5 ---->EV2 On EV1 GO Egress Airlock with CL Bag 2
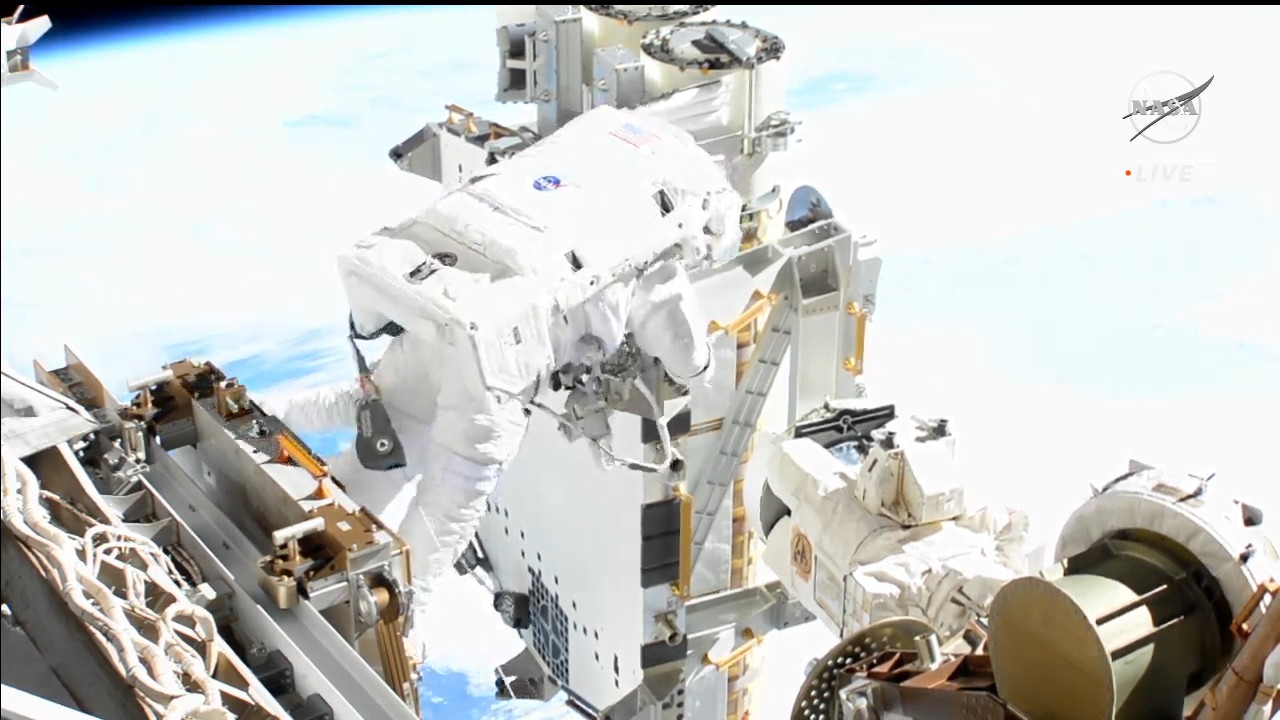
2.6 WORK SITE PREP
2.7 ---->EV2 Translate to P1 Anchors on HR 365213651, Green Hook to P6 HR 5388
2.8 ---->EV1 Translate to Port CETA Cart then IROSA Tower HR, Stow CL Bag
2.9 ->Release R18R2
2.10 ---->EV1 Translate Zenith to Boom End of IROSA, Release Bolt R18R2 with PGT A7, CCW2
2.11 ---->EV1 Rotate 2 Deployment Rollers slowly until in Deploy Position
2.12 ->Release R38R4
2.13 ---->EV1 Release R3 with PGT A7, CW3 then Release R4 with PGT1 A7, CCW3
2.14 ---->EV1 Stow PGT1 on Tower HR, Retrieve PGT2
2.15 ---->EV1 Verify R5 Released
2.16 ->Release Anti-rotation Devices
2.17 ---->EV1 Translate to C11, Release ARDs with PGT2 B2, CCW2 then Stow PGT
2.18 ---->EV1 Translate to Tower HR and Perform Socket Swap, then Stow Scoop on MWS
2.19 ->Break Torque and Release IROSA FSE Bolts
2.20 ---->EV1 Break Torque on C12 then C11
2.21 ---->EV1 Release Bolt C11 27 Turns Only and then Fully Release C12 with PGT, then stow PGT
2.22 ---->EV1 Install Square Scoop on Root Beam Microsquare near C12 Handle Nadir
2.23 ---->EV1 Stow PGT2 on Tower HR and Retrieve PGT1
2.24 ---->EV1 Translate to Port CETA Cart, Reclock APFR to 12 then Ingress (12,PP,F,6)
2.25 ---->EV2 Stow CL Bag 2 on Left Lower Strut HR Closest to Mounting Bracket
2.26 ---->EV2 Retrieve Square Scoop from C/L, Install on Mounting Bracket (Handle IS S Inboard)
2.27 ->Route Right/Left Wire Cable Harness
2.28 ---->EV2 Route Right Cables, Stage Tethers, then Route Left Cables, Stage Tethers
2.29 ---->EV2 Retrieve Green Hook
2.30 ---->EV2 Translate to Grapple Tower
2.31 ---->EV2 Retrieve Scoop from CL Bag 1 and Stow on MWS, then Stow PGT on Swingarm
2.32 IROSA RELEASE FROM FSE
2.33 ---->EV1 Attach RET to Scoop on IROSA Microsquare near C12
2.34 ---->EV2 On EV1 GO Release C11 with PGT and Install Square Scoop on Root Beam Microsquare
2.35 ---->EV2 Translate Outboard/Zenith of F SE, assist with IROSA Clearance to Tower Grapple Fixture
2.36 ---->EV1 Slide IROSA Zenith to Release from FSE Pinlslot, EV2 Give SSRMS GO to Backoff
2.37 1ROSA INSTALL
2.38 ->Pre Install Steps
2.39 ---->EV2 Retrieve LDTDT, Perform Socket Swap on PGT then Retrieve Green Hook
2.40 ---->EV2 Translate to P6 and Attach EV1/EV2 Green Hook to HR 531115388
2.41 ---->EV2 Fairlead on HR5346 Outboard of APFR in WIF 17, Ingress APFR [12,FF,F,7]
2.42 ---->EV1 Give SSRMS GO to Handoff Pos, Transfer IROSA to EV2
2.43 ---->EV1 Give SSRMS GO to Egress Position, Egress APFR, Tether to P6 HR 5311
2.44 ---->EV1 Stow Ingress Aid then Give SSRMS GO to Maneuver
2.45 ---->EV1 Translate to EV2 APFR, incrementally Yaw Boot Plate to [2]
2.46 ---->EV1 Place Fairlead on HR 5356, then Ingress APFR in WIF 29 Verify[12,II,F,11]
2.47 ---->EV2 Transfer Control of IROSA to EV1
2.48 ---->EV2 Egress APFR and Translate to Left Side of Mounting Bracket to Position for IROSA Install
2.49 ---->EV1 Using AET Hook, Remove Right Hand Scoop from Root Beam
2.50 ->Install IROSA to Mounting Bracket
2.51 ---->EV1 With EV2 Install IROSA Onto Mounting Bracket Left Side Alignment Tabs
2.52 ---->EV2 Stow LDTDT in CL Bag, and Stow PGT on CL Bag
2.53 ---->EV1 Remove Left Scoop from Root Beam to Stow in CL Bag
2.54 ---->EV1 Egress APFR, Retrieve APFR from WIF 17 and Install in WIF 37 [9,FF,G,3]
2.55 ---->EV1 Ingress APFR WIF 37, EV2 Reposition to Hold Right Wing, EV1 Release R6
2.56 ---->EV1 Reposition to Modkit, EV2 Pivot IROSA to Unfolded Posn, EV2 Ingress APFR WIF 37
2.57 ---->EV2 Egress APFR, Stow Scoops in CL Bag 1 then Retrieve AMS Knob tool with 6in Wobble Socket
2.58 ->Drive R7 & R8
2.59 ---->EV1 Drive R7 & R8 with PGT A1,CW2 then Stow PGT and Receive AMS Knob from EV2
2.60 ---->EV1 Turn Bolts until Snug then Transfer AM S Knob to EV2
2.61 ---->EV2 Stow AMS Knob in Crewlock Bag
2.62 ---->EV1 Drive Right Side Bolts M35, M36, M37, M38 with Green PGT, EV2 Remove Adj Tethers
2.63 ---->EV2 Drive Left Side Bolts M31, M32, M33, M34 with Green PGT, EV1 Remove Adj Tethers
2.64 ---->EV1 Mate Right Cables
2.65 ---->EV2 Mate Left Cables
2.66 IROSA DEPLOY
2.67 ---->EV1 Release Deployment Launch Restraint Bolts R9 8 R10, EV2 Reposition to Observe Deploy
2.68 ---->EV1 Wait For Full Deployment (Approx. 12 Minutes)
2.69 ---->EV1 After Full Deployment Release Blanket Tensioner Bolts R11 8 R12
2.70 CLEANUP
2.71 ---->EV1 Retrieve APFR from WIF 29 and Stow on BRT
2.72 ---->EV1 Retrieve GREEN Hook from HR 5311
2.73 ---->EV1 Translate to Port CETA Cart and Stow APFR on WIF 3 4,I1,F,11
2.74 ---->EV2 Retrieve PGT and Stow on Swing Arm
2.75 ---->EV2 Remove Square Scoop From Mounting Bracket And Stow in CL Bag
2.76 ---->EV2 Stow Crewlock Bag inside of Cable Bag
2.77 ---->EV2 Bundle Cable Bag to APFR in WIF 37 and Stow on BRT
2.78 ---->EV2 Retrieve GREEN Hook from HR 5388
2.79 ---->EV2 Translate to AIL, Stow WIFEX APFR in AIL, then Install APFR onto WIFEX 12,TT,F,12
2.80 ---->EV1 Retrieve APFR from LEE, Stow On Port CETA Cart WIF 2 [9,PP,F,6]
2.81 ---->EV1 Translate to F SE Near Tower to Retrieve CL Bag 1
2.82 INGRESS
2.83 ---->EV1 Translate to P1 HR 3651, Retrieve Anchor Hook from P1 HR 3652 and Stow on MWS
2.84 ---->EV1 Translate to AIL
2.85 ---->EV2IEV1 Ingress AIL